## One Clear Goal for Checking hoka Shoe QC Photos This guide solves one problem: when you view hoka shoe QC photos on a fashion-reps product page, how to determine if there are visible issues with upper perforations, lace area, and left-right differences that require additional photos or pausing the order. After reading, you should be able to complete three steps: confirm the photos correspond to the correct product and order variant, check left-right differences in a fixed order, and save evid
One Clear Goal for Checking hoka Shoe QC Photos
This guide solves one problem: when you view hoka shoe QC photos on a fashion-reps product page, how to determine if there are visible issues with upper perforations, lace area, and left-right differences that require additional photos or pausing the order. After reading, you should be able to complete three steps: confirm the photos correspond to the correct product and order variant, check left-right differences in a fixed order, and save evidence before deciding to confirm, request additional photos, or hold shipment.
This article does not apply to pages with only product main images and no View QC Photos entry, nor to using low-resolution thumbnails to judge material, durability, or authenticity. Prices, stock, sizes, colors, and after-sales windows should be based on the information displayed on the product detail page and shopping agent page on the day you open them. The verification date of this article is October 11, 2026. Currency and destination country differences may affect fees and return/exchange conditions. 🔎
Access the hoka Product Detail Page and Get the Corresponding Gallery via View QC Photos
Start from the fashion-reps hoka product detail page, not from the homepage, brand page, category page, or search results images. After opening the page, verify the product name, color, size, seller information, and order variant, then find the button called View QC Photos. Only images accessed through this button and clearly associated with the current product can serve as primary evidence for this QC check.
Once in the gallery, save or note the following information: product name, color, size, image time, order or product identification details, and whether each image shows the left shoe, right shoe, sole, toe, or heel. If the gallery contains only one shoe, mixed left/right shoes, images from a different color, or cannot be linked to your order, request additional photos first and do not treat uncertain images as valid evidence.
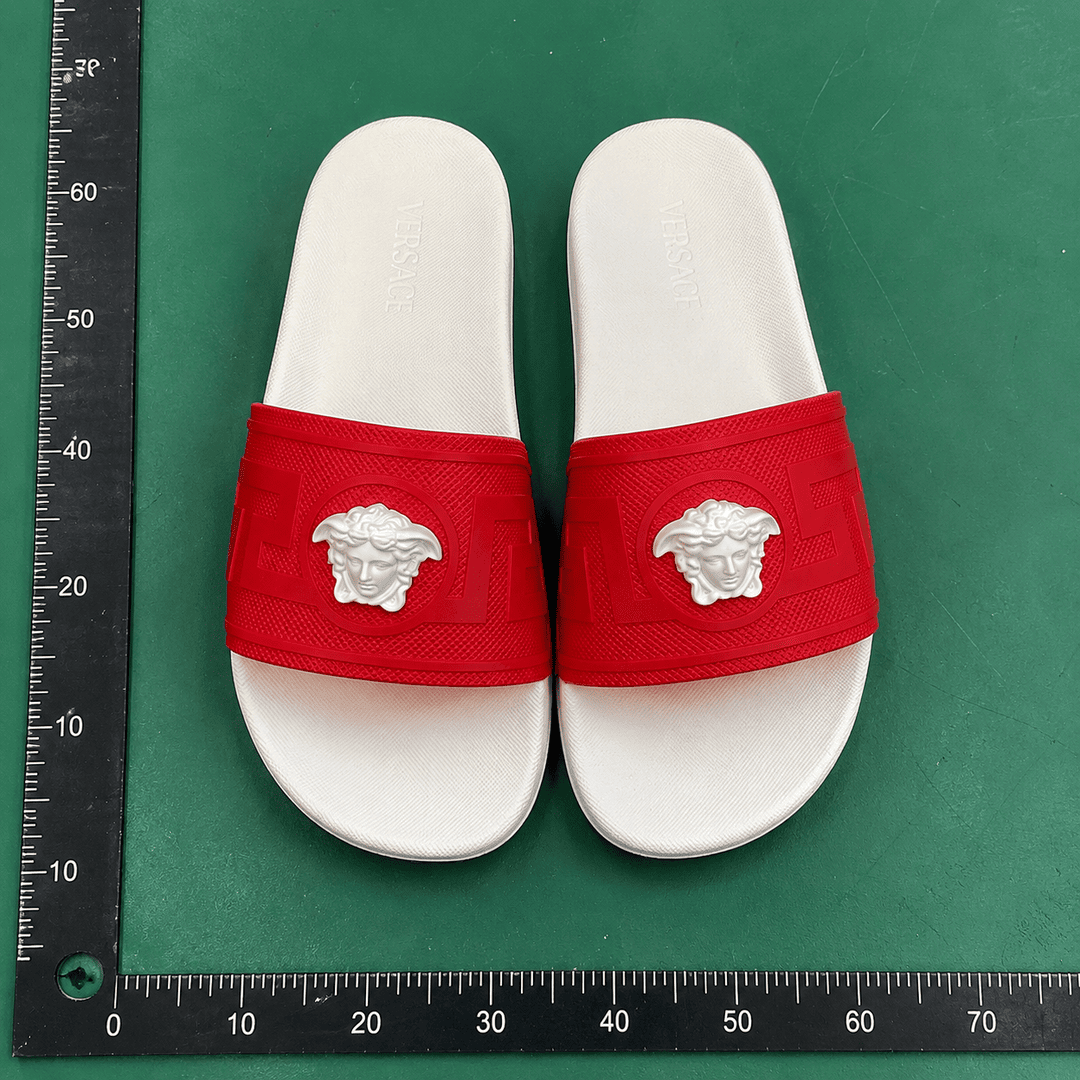
The provided image record has an obvious correspondence issue: its official source summary points to a Versace red slippers QC page, not an hoka shoe. It cannot prove any hoka upper perforations, lace area, left-right differences, or product quality. Therefore, the following inspection methods can be applied to correct hoka QC photos, but this specific image can only serve as an example of a "source correspondence anomaly," not as evidence for hoka products. ⚠️

Caption: The system-provided image record is labeled as an hoka QC reference image, but its source summary shows a Versace slippers QC page; do not confirm an hoka order based on it until product correspondence is verified.
How to Inspect Upper Perforations, Overlay Edges, and Stitching Continuity Item by Item
Look at the upper as a whole first, then zoom in on details. It is recommended to fix the inspection order as toe, side, heel, and corresponding positions on both shoes, to avoid drawing conclusions based on impression after noticing one flaw.
Focus on the following:
- Whether perforation positions maintain similar arrangement, spacing, and direction in the same areas on left and right shoes.
- Whether perforation edges show obvious tearing, flattening, fraying, notches, or unpunched abnormal holes.
- Whether overlay edges on the upper are continuous, with obvious lifting, misalignment, glue overflow, or asymmetric fold lines.
- Whether stitching is continuous, with sudden changes in stitch length, skipped stitches, broken threads, severe crookedness, or excessively long thread ends.
- Whether the toe and side show obvious collapse, concentrated creases, or structural differences between left and right under the same angle.
A single minor thread end does not necessarily mean return/exchange is needed, but if the thread end is accompanied by broken stitching, opening, or overlay detachment, capture two images showing the overall location and local detail, and describe the specific area to the shopping agent. Do not just say "bad quality"; state clearly, e.g., "Under the second row of perforations on the outer side of the right shoe, there is an obvious lift along the overlay edge, about a certain length. Please provide close-up front view and left-right comparison photos."
Photos can only prove the visible condition at the time of capture; they cannot prove the actual material of the upper, wearing durability, waterproofness, or long-term adhesion. Material descriptions in the catalog are not equivalent to independent test results. 🧵
How to Compare Lace Area, Tongue Attachment, and Left-Right Positioning
The lace area requires examining eyelets, laces, tongue, and upper attachment points together. First, confirm that left and right shoes are oriented identically, then compare the same positions instead of mixing the outer side of one shoe with the inner side of the other.
Follow this order:
- Count the eyelets or holes to ensure no significant difference in number and arrangement between left and right.
- Check for tears, indentations, glue overflow, or shifted holes around the eyelets.
- Observe whether the lacing pattern is consistent and whether length differences are merely due to placement.
- Check the top of the tongue, both sides of the tongue, and the upper attachment for obvious skewing, loose threads, or localized compression.
- Point both toes in the same direction and compare the tongue centerline, lace area width, and upper fold lines.
Left and right shoes cannot appear perfectly identical in photos like replicas. Focus on structural differences, such as one shoe's lace area clearly leaning to one side, the tongue failing to stay centered, significant height difference in the same row of holes, or one shoe having cracks or loose threads the other lacks. Color shade must consider lighting, shooting angle, and camera white balance; do not judge color difference based on a single photo.
How to Match Color, Size, and Order Variant with QC Photos
When confirming QC photos, similar appearance does not equal same product. At minimum, verify product name, color option, size, left/right combination, and order identification information on the page. If the product has multiple colorways, confirm that the upper color, lace color, sole color, and logo positions in the photos match the selected variant.
If the size, color, or stock information on the page differs from the shopping agent order, pause judgment and contact the agent to confirm. Do not assume photos belong to your order just because the shoe shape looks similar. Especially when the same seller has multiple similar styles, upper perforations, lace area, and heel logos may differ.
Color judgment is best done under natural or neutral light, and save full-shoe images together with close-ups. Close color in photos only indicates no obvious difference under current shooting conditions; it does not guarantee the actual product will look identical under different lighting.
Visible Flaws vs. Authenticity or Durability Not Provable by Photos
QC photos can help you identify visible appearance and assembly issues, such as broken stitching, damaged perforations, obvious misalignment, glue overflow, stains, structural differences between left and right, and wrong variants. They cannot alone prove authenticity, comfort, support, long-term wear resistance, whether the actual size fits, or whether they will delaminate after wear.
Therefore, judgment should be divided into two layers:
- Visible evidence: gaps, broken threads, misalignment, color or variant mismatches that can actually be seen in the photos.
- Editorial judgment: based on image clarity, problem location, and left-right comparison, decide whether additional photos or a pause are warranted.
Editorial judgment is not a quality guarantee or authentication conclusion. Without clear close-ups, the safest conclusion is "insufficient evidence," not "no problem." ✅
When to Request Additional Close-up Photos and How to Describe the Issue
Request additional close-ups in the following situations: photos cannot confirm the product variant; lace area is obscured by laces or packaging; perforations, stitching, or overlay edges are in shadow; left and right shoes are oriented inconsistently; key areas only have distant shots; or you spot a suspected broken thread, crack, or stain but cannot tell if it's reflection or indentation.
Additional photo requests should include location, angle, and purpose. For example:
- "Please provide front view of both toes, oriented the same way, to compare upper perforation arrangement."
- "Please provide a close-up of the right shoe's outer lace area, including all eyelets, tongue edge, and stitching connections."
- "Please provide a close-up of the lifted overlay on the left shoe's upper, in natural light, with both overall and local shots."
- "Please confirm the photos correspond to the black, US 9 order variant; do not use QC photos from other colors or sizes."
Do not ask the agent to hide flaws via editing, change colors, or generate non-existent details. Also do not upload screenshots containing full address, phone number, order number, payment information, or other personal data. 🛡️
Final Action: Save Evidence, Then Confirm, Request Photos, or Hold the Order
Before confirming the order, save the product detail page, View QC Photos entry, corresponding QC images, variant information, and your additional photo requests. File names can include date, product abbreviation, color, size, and image type, but do not write full order numbers or personal information into public file names.
If the images fully correspond to the product, color, and size, and there are no obvious structural differences in upper perforations, lace area, stitching, and left-right, you can proceed to the next step. However, this only means no clear issues were found in the currently visible appearance; it does not guarantee authenticity, durability, or wearing comfort.
If only key positions are unclear, request a targeted additional photo once and re-compare after receiving it. If images consistently fail to correspond to the order, show obvious broken stitching or cracks, significant structural differences between left and right, wrong variants, or the agent cannot provide sufficient evidence, hold the order and handle according to the current shopping agent's after-sales and return/exchange window.
Regarding the provided image record, because its source summary points to Versace slippers rather than hoka shoes, it cannot be used to confirm hoka QC. The intended audience is buyers who need to verify evidence before ordering or shipping; it is not recommended to treat this mismatched image as hoka qualification proof, nor to confirm an order based solely on product main images without corresponding QC originals.
Article Images
